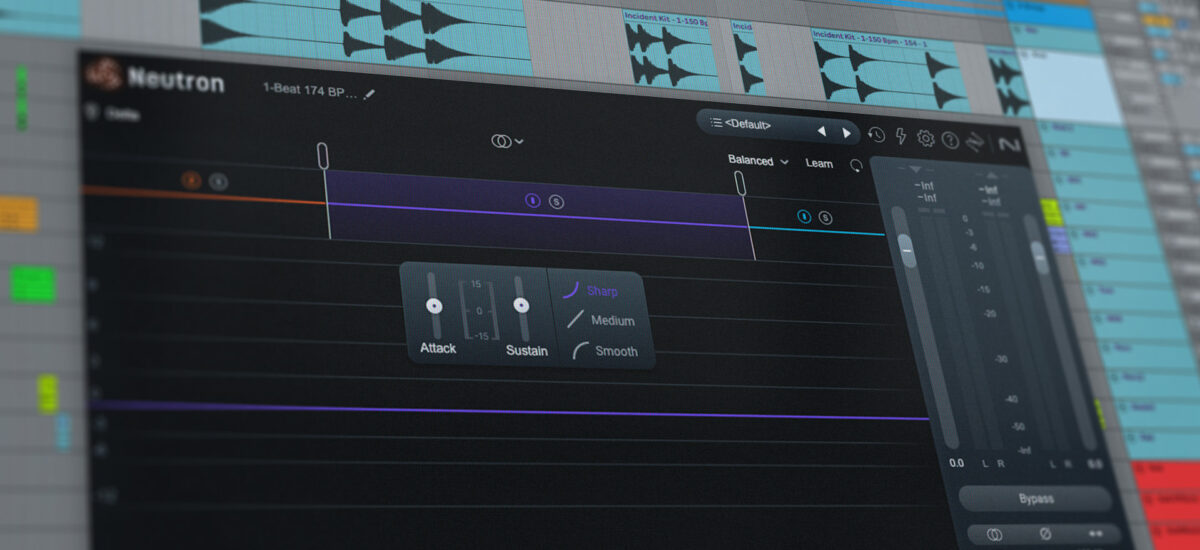
Transient processing is one of the simplest and quickest ways to improve the sound of your drums, and multiband transient processing in particular affords you the ability to both make your beats hit harder and sound snappier. In this tutorial we’ll show you how to use a single transient shaper plugin, iZotope Neutron 5 Transient Shaper, to transform the dynamics, texture and stereo image of a drum loop to help it sound better in the mix.
Here’s our example project before processing:
Here’s our example project after processing:
As you can hear the processed version of the project has shimmering, crisp highs, more defined mids, and a tighter low-end.
Jump to these sections:
- What is a transient shaper?
- How to enhance your drum beats
To follow along with this walkthrough you’ll need this sample pack, a DAW (we’re going to use Ableton Live), and Neutron 5, iZotope’s comprehensive mixing suite.
What is a transient shaper?
Before we dive in, what does a transient shaper do?
A transient shaper is used to manipulate the attack and sustain characteristics of a sound. It focuses on the transient portions of a sound – the initial peaks or hits, like the snap of a drum or the pick of a guitar string – and allows precise control over how these transients are emphasized or suppressed. This makes it easy to control how punchy, snappy or roomy a drum track sounds.
So, is a transient shaper just a compressor? No, it’s not: while they do share similarities in that they allow you to control the dynamics of the input signal, the big difference is that transient shapers are dependent on a threshold level in the same way compressors are. Transient shapers will alter all audio inputs in the same way regardless of the input level, whereas compressors rely on the input level to determine how to affect the sound. So, how these effects are controlled and how they affect the sound are different.
Multiband transient shaping might sound like an intimidating concept to the beginner, but it’s a very simple technique to achieve with Neutron 5 Transient Shaper. Crucially, it’s easy to hear how the effect affects the audio input signal, so you should have little trouble getting to grips with it.
How to enhance your drum beats
1. Set up the project
It can be more difficult to assess the dynamics and textural properties of a drum beat outside of a musical context, so for this guide we’ve created a small sample pack that includes an unprocessed drum beat, a bass line, and an atmospheric pad. Download the pack, extract its contents, then set your DAW’s project tempo to 174 BPM.

Now drag the contents of the sample pack onto audio tracks in your DAW.

Let’s take a moment to listen to the project critically. How does it sound?
It sounds okay, certainly there are no glaring technical issues. But is there room for improvement? Let’s find out.
2. Activate multiband processing
Solo the drum track.
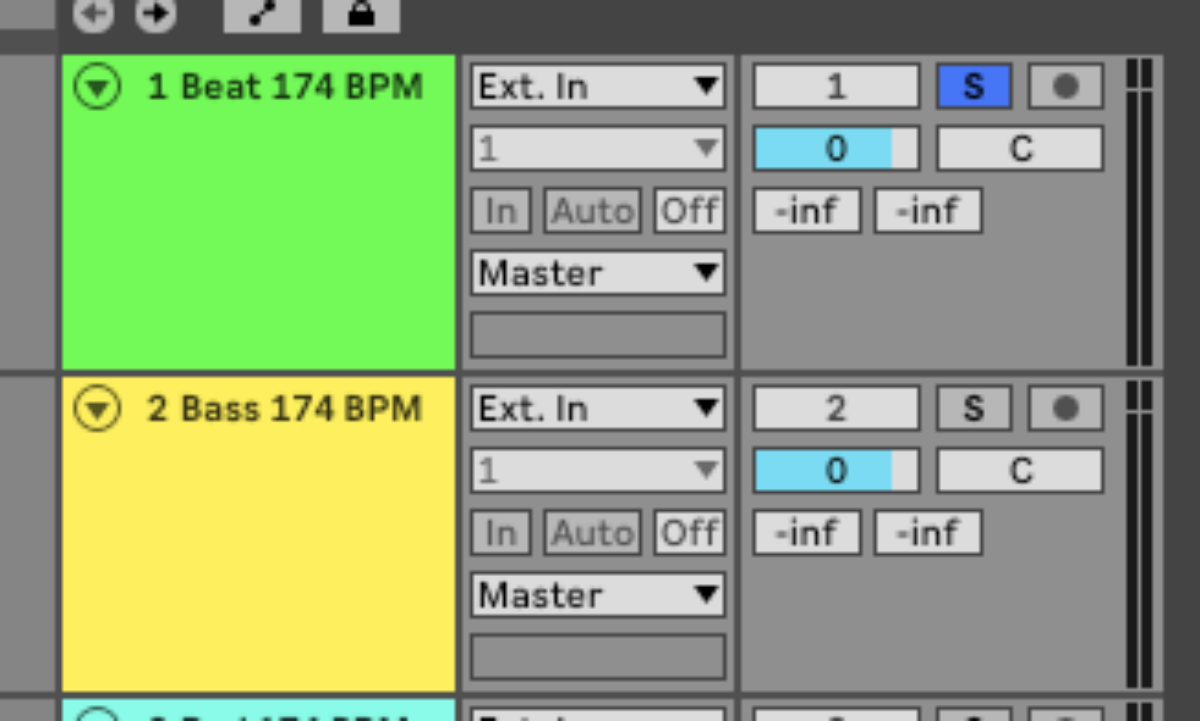
This beat has a slightly booming bottom end, and a relatively wide, natural-sounding stereo image. This might be suitable for certain contexts, but in this project it could do with a touch more definition.
Add Neutron 5 Transient Shaper to the drum track.
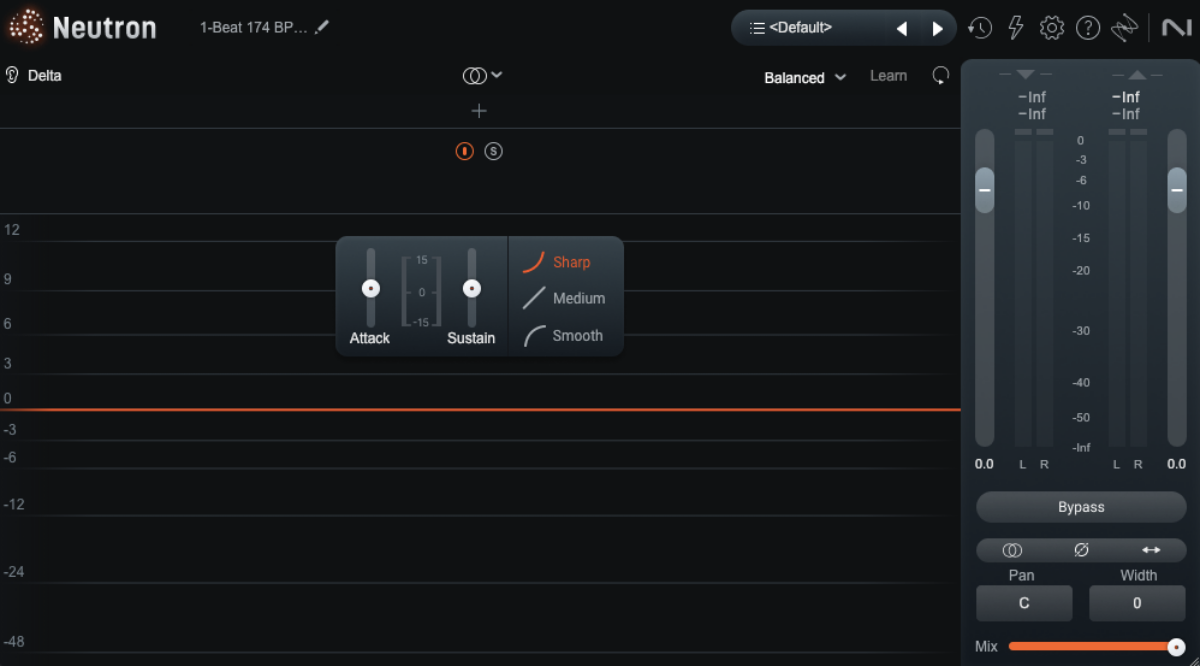
Let’s start by tightening up the room sound. Click on the Multiband Crossover Spectrum View to add bands at 200 Hz and 6 kHz.
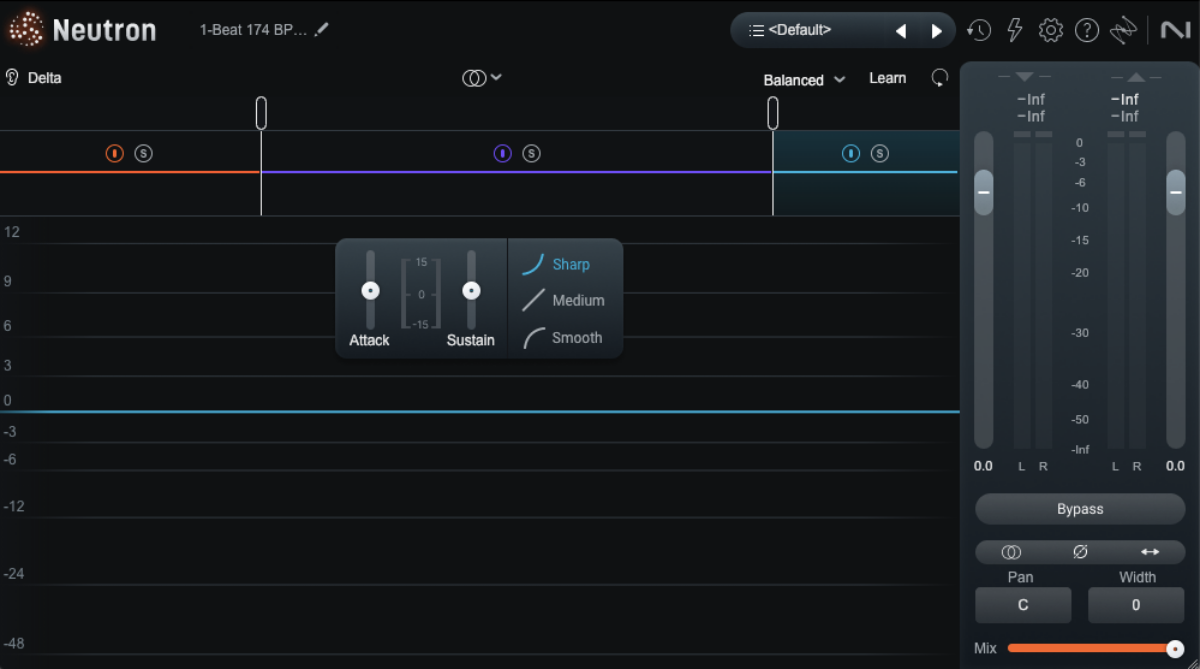
This allows us to adjust the low, mid and high parts of the signal independently.
3. Taming the low-end boom
Let’s start by focusing on tightening up the low end. Click the low band, then turn the Sustain fader down to -7.
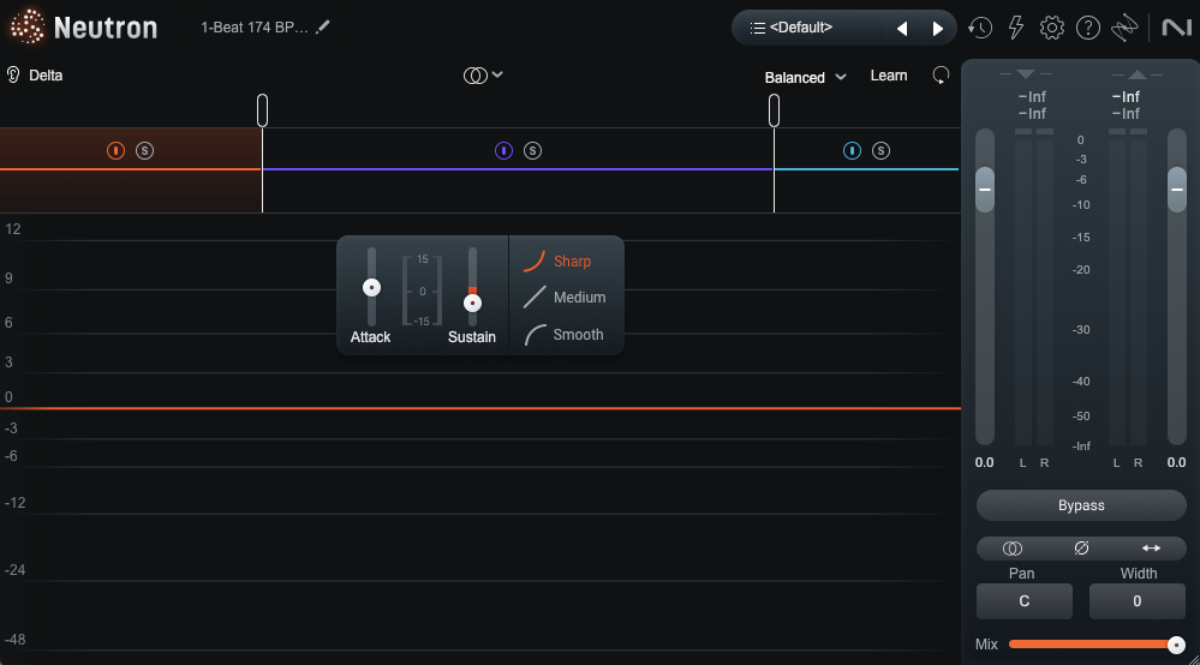
Here’s how the beat sounds before, and after.
You should be able to hear that the low-end has been tightened up, and the tightened up version of the beat sounds lighter and less boomy. This might not be desirable in all situations, but in this context where we want the bass line to be the primary occupier of the low-end, it makes sense.
When adjusting Sustain, too much reduction can suck too much weight out of the sound, whereas booting it too much can make the sound too boomy, so listen carefully when making adjustments.
4. Crisp up the highs
Next let’s bring out the highs a touch. Select the high band, and this time bring the Attack up to +4.6.

Here’s how the beat sounds before, and after.
This brings up the transients of the hats up a touch, just enough to give them a crisp sparkle. When adjusting the Attack, be careful as boosting too much can give you a harsh, brittle sound, and excessive reduction results in the loss of punch. Again, listening carefully when making adjustments is a must.
5. Focus on the mids
So far, we haven’t touched the mids. It’s certainly not always necessary to try and tweak every aspect of a sound, but sometimes it can be useful to experiment and see what happens. Let’s try boosting the mid’s Sustain slightly. Click the mid band, then bring up the Sustain to +2.4. With the Delay button active, the effect will output just the difference between the unprocessed and processed signal.
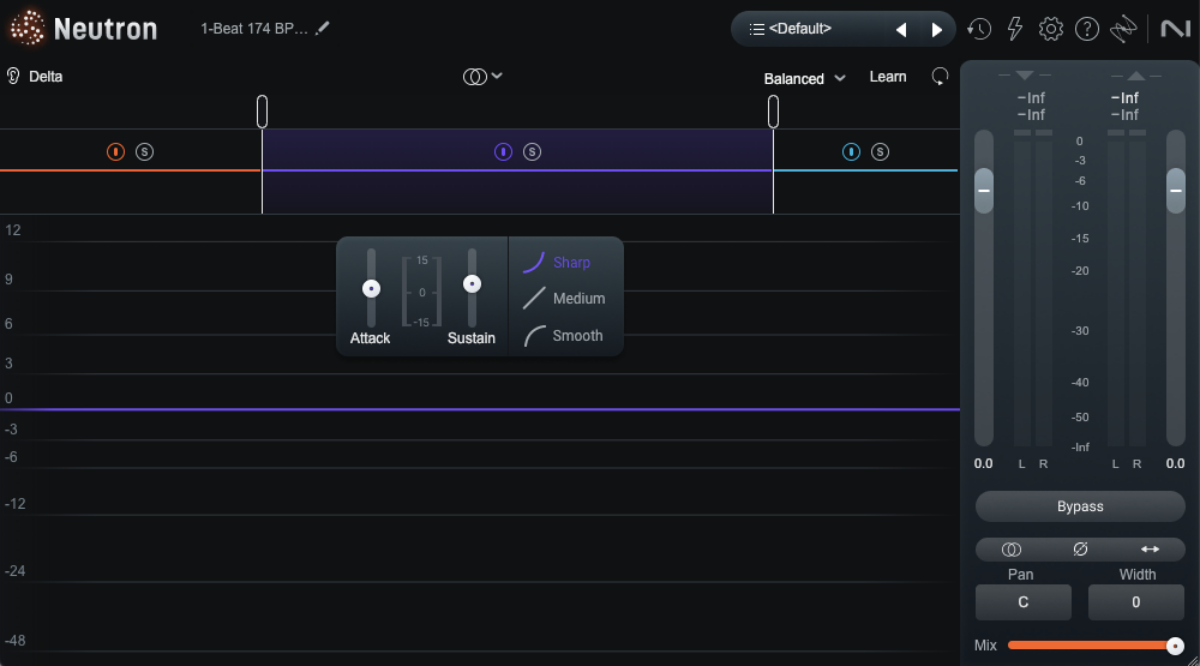
This is a yet more subtle change than the previous adjustments we made. Can you hear the difference? This will partially depend on the fidelity of your monitoring.
If you’re struggling to hear how the changes you have made have affected the sound, you might find one of Neutron Transient Shaper 5’s new features, Delta, useful. This monitors the difference in the signal before and after the Transient Shaper module, enabling you to hear exactly how the module is changing your sound.
Click the Delta button now to hear what it does.

Once you’re done, click the Delta button again to deactivate it.
6. Employ mid/side processing
Another new feature in Neutron Transient Shaper 5 is mid/side processing. This allows us to process the mono ‘mid’ information at the centre of the mix and the stereo ‘side’ information at the sides of the mix separately.
To activate Mid/Side mode, click the Channel Modes button and select Mid/Side.

When switching from Stereo to Mid/Side mode, the Stereo settings are copied to the mid channel, and the side channel’s settings are initialized. So, the processing we’ve applied this far will currently only affect the mid signal.
So, with mid channel and the low band selected, we can see the -7 Sustain value we entered earlier.
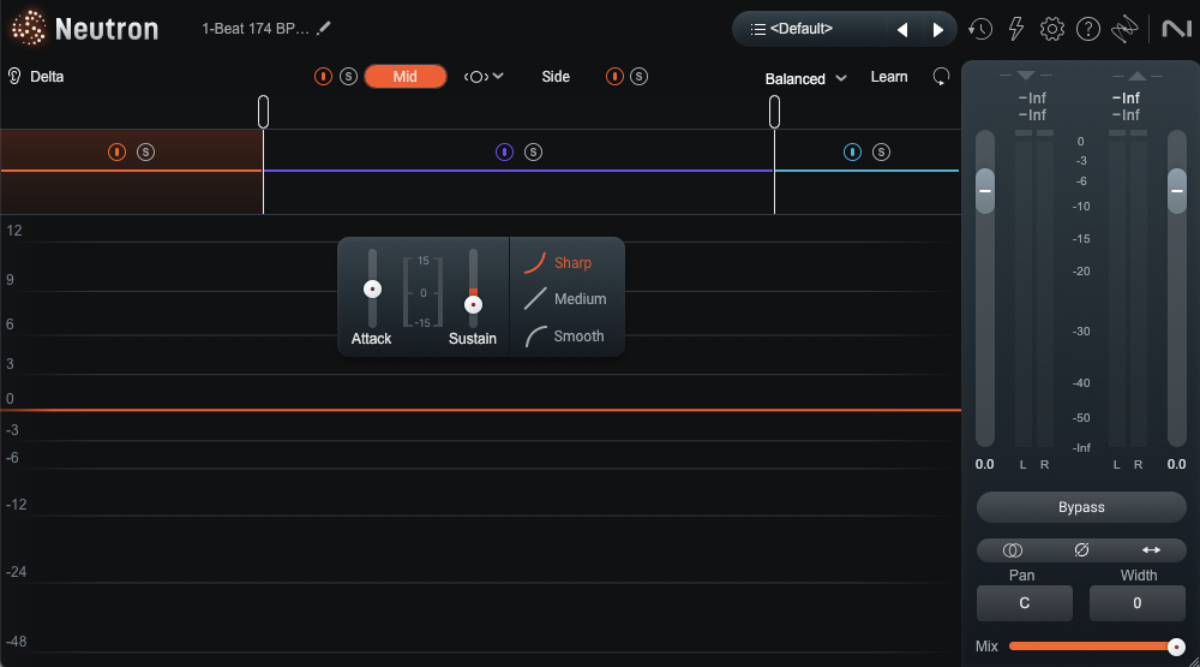
Let’s see how we can alter the sound with an adjustment to the side channel. Click the side channel button, and click the mid band. Bring its Sustain down to -9.3.
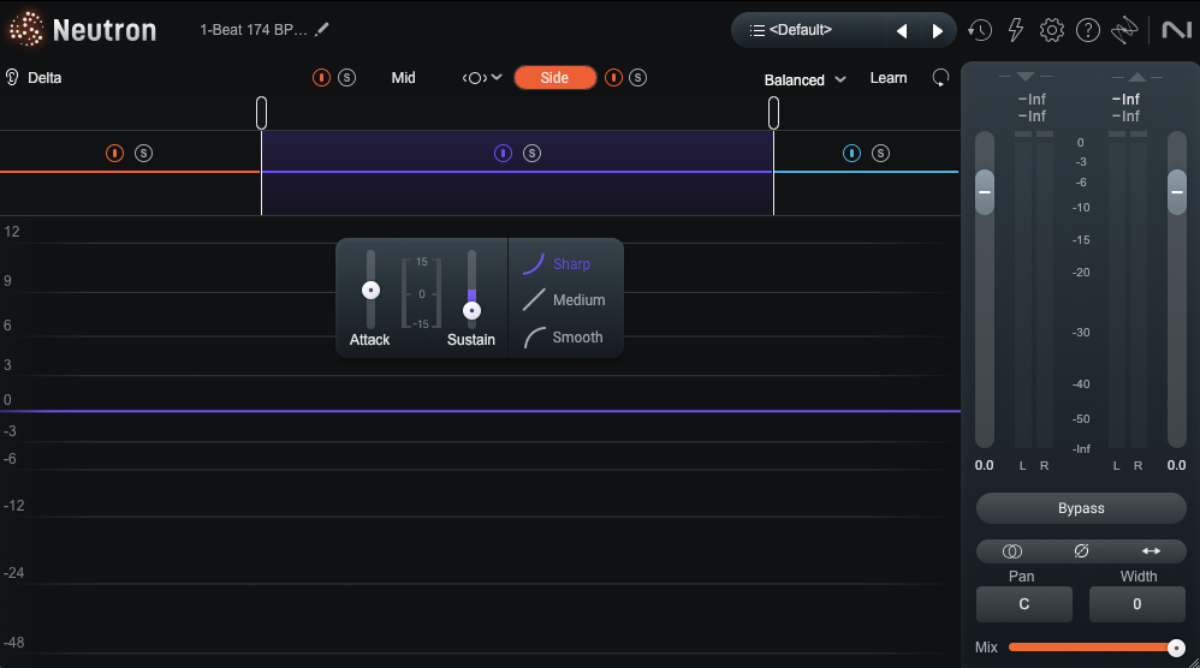
Reducing the side channel mid band Sustain effectively reduces the signal’s stereo width, giving us a tighter, more focused sound.
Let’s check out the original drum sample, and compare it with the processed version.
The difference is clear, and it becomes more pronounced when we add in the bass and pad elements.
Start enhancing your beats with Neutron
Here, we’ve seen how you can improve your beats with iZotope Neutron 5 Transient Shaper. iZotope Neutron 5 is a collection of ten world-class mixing effects designed to help you make your best tracks yet.