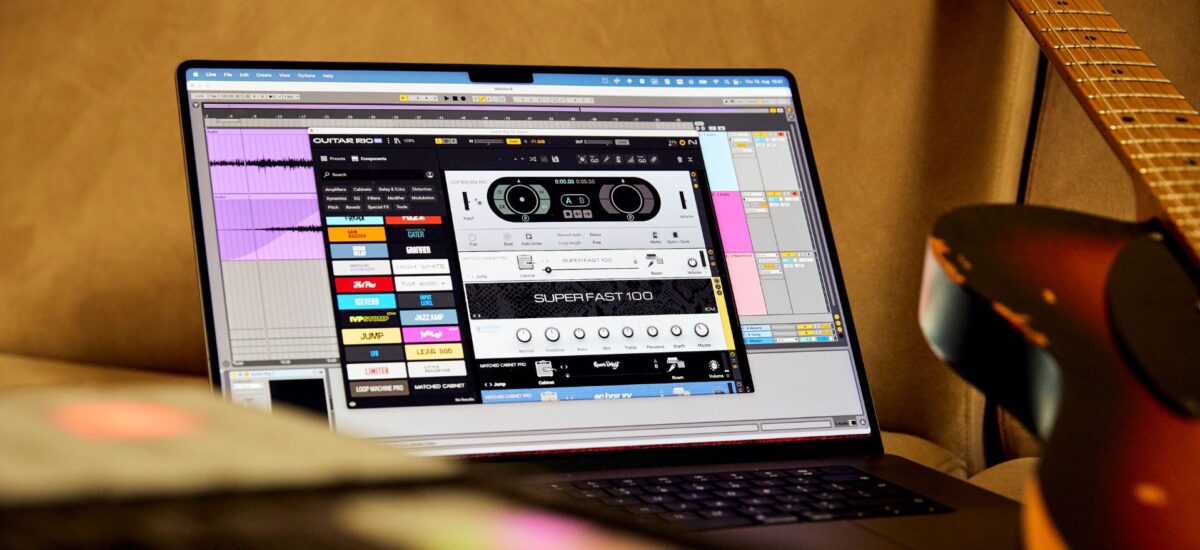
While ambient music thrives on space and texture, it’s not the only genre in the game that uses, if not needs, texture and space to sound its best. While reverb and delay are great for creating space, true depth comes from layers that shift, morph, and surprise – elements that make a track feel alive.
Guitar Rig 7 Pro is a perfect playground for pushing a track’s sense of space and time. With a range of creative modules that go far beyond the basic effects, shaping sound and space is not only doable but inspiring in its own right. This article breaks down nine essential techniques using Guitar Rig, each designed to push your ambient production game beyond conventional step-and-forget reverb presets.
Jump to these sections:
- Space through multi-modulation
- Spatial expansion using Split Mix
- Layering ambience with grain delay
- Enhancing depth with Frequency Shifter
- Introducing nonlinear dynamics with amp simulation
- Glitching with the step sequencer
- Pitch shifting with subtle harmonies
- Using reverb pre-delays for rhythmic atmospheres
- Dynamic movement with filter modulation
Let’s unpack and explore how you can add more character, depth, and complexity to your atmospheres in ambient production.
1. Space through multi-modulation
To really bring your space and time to life in ambient music production, it’s crucial not to view reverb and delay as just basic items to check off a mixdown list. Think of them as your canvas, where you create movement and interaction in interesting ways. While most reverb and delay plugins might offer one modulation parameter to add some movement as the sound fades, it’s important to connect more dots than that.
Having reverb and delays change at multiple points throughout the delay adds nuance and dynamics, making your textures evolve over time. This approach is essential if you want your textures and space to become almost like instruments and musical layers in their own right.
By incorporating chorus, flangers, or phasers, you can ensure that even your static elements move in some subtle way. It’s all about layering effects to make sure something is always shifting in the background – keeping the listener’s ear engaged.
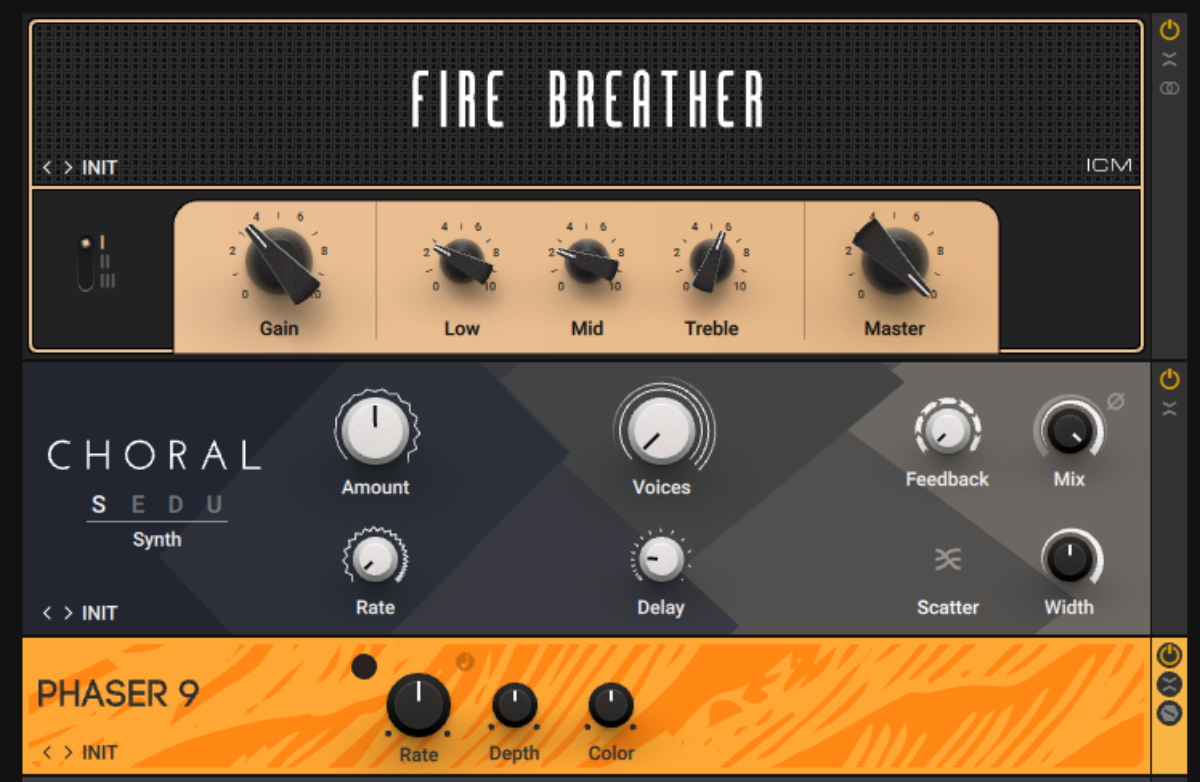
In Guitar Rig 7 Pro, start by using “Choral” for that lush width, then follow it with the “Phaser 9” to bring in some subtle movement. Keep the phaser rate low and depth around 40% – this is how you get that natural ebb and flow without it being over the top. It’s that kind of delicate movement that adds a unique touch to your ambient textures.
Here’s a great recording of a harp, but it lacks the movement and space we need.
But with a couple points of space and modulation, the track comes fantastically alive.
Pro tip: Automate the “Rate” and “Amount” controls on the Choral Ensemble for more movement. Try setting the rate between 0.3–0.7 Hz and automating slight shifts over time to keep the width evolving – this adds a level of natural fluctuation that keeps your soundscape from feeling too static.v
2. Spatial expansion using Split Mix
If you really want your reverb, texture, and space in your track to feel alive, they need to feel larger than life itself. This quality is hard to put your finger on exactly, but it is something that reverb presets can rarely live up to. And it’s something that a lot of producers tend to overlook. But, a little stereo widening can make all the difference, making your track feel open and all-encompassing versus stale, lifeless, and a bit two-dimensional.
You don’t need to go crazy. A little bit of stereo widening can go a long way. Think about using mid-side processing or panning automation to have some of these effects move to the left and the proper channels to create more room in your mix. A bit of width helps glue ambient layers together while still giving them enough space to breathe.
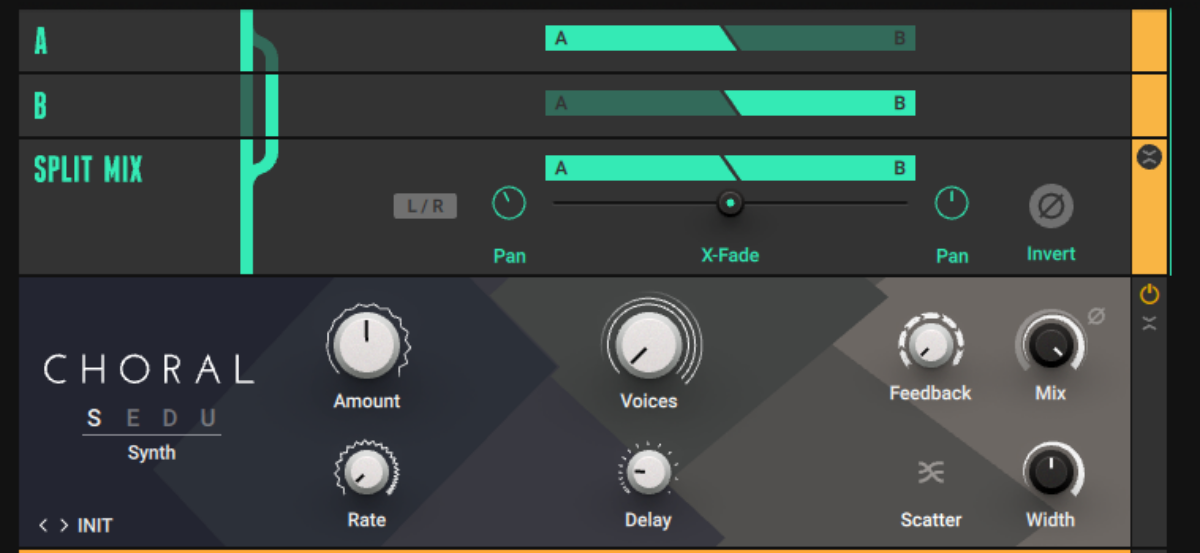
In Guitar Rig, the “Split Mix” module lets you do just that. Adjusting the width parameter to about 60-70% opens up the space without overdoing it. For an alternative approach, use the ‘Crossover Split’ setting in Split Mix. This allows you to split the signal by frequency, applying different effects to separate bands. This brings out a nuanced texture that changes across the frequency spectrum, giving your ambient atmospheres a new layer of depth and dimension.
Pro tip: A mix is all about contrast. Use Split Mix to create different ambiences on the left and right channels, which will result in an ultra-wide and highly detailed stereo field that is greater than the sum of its parts.
3. Layering ambience with grain delay
If you want a unique and alive sound, granular delay can work wonders. It adds an almost unpredictable texture, breaking up the expected reverb/delay patterns and scattering reflections into something shimmering and ethereal.
Granular effects can be hit or miss if overused, so it’s important to keep it balanced or just use light touches. You’re not looking to drown the mix – you just want that hint of unpredictability that keeps the atmosphere evolving without overwhelming the core elements.
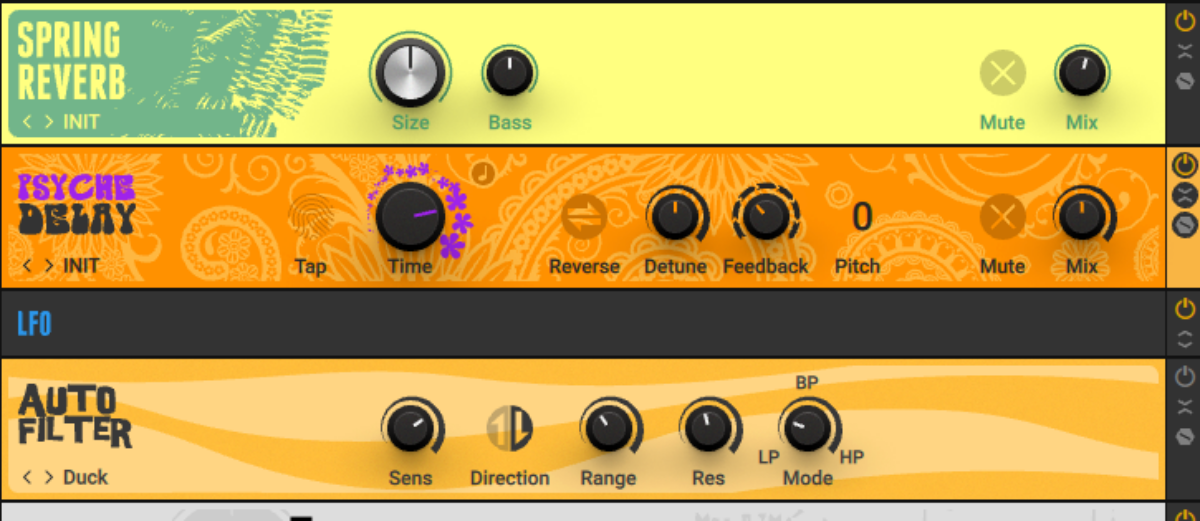
Guitar Rig 7’s “Psyche Delay” is perfect for this. Set the delay time between 300 and 500 ms and adjust feedback to about 40%. This setting keeps things evolving, but not chaotic. Blend it gently with a low dry/wet mix so it becomes an underlying layer rather than taking center stage. This will make your ambient textures stand out in a natural and distinctive way.
Here’s a great recording of a harp, but it lacks the movement and space we need.
But with a couple points of space and modulation, the track comes fantastically alive.
Pro tip: When using “Psyche Delay,” try modulating the delay time slightly with an LFO. Set a slow rate, around 0.1 Hz, to create a gentle fluctuation in the delay pattern. This keeps the echoes from feeling repetitive and gives your sound a more evolving, organic quality.
4. Enhancing depth with a Frequency Shifter
Creating depth isn’t just about adding reverb and hoping for the best. Using a frequency shifter adds a subtle but effective dimension to your sound, making it feel alive with gentle, unpredictable movement that can border on other-worldly (at least when done correctly).
The trick is to use the frequency shifter incredibly lightly – just enough for the listener to feel it without explicitly hearing it. It’s something that, like a mosquito in your ear, the second you notice it’s happening, is all somebody can listen to.
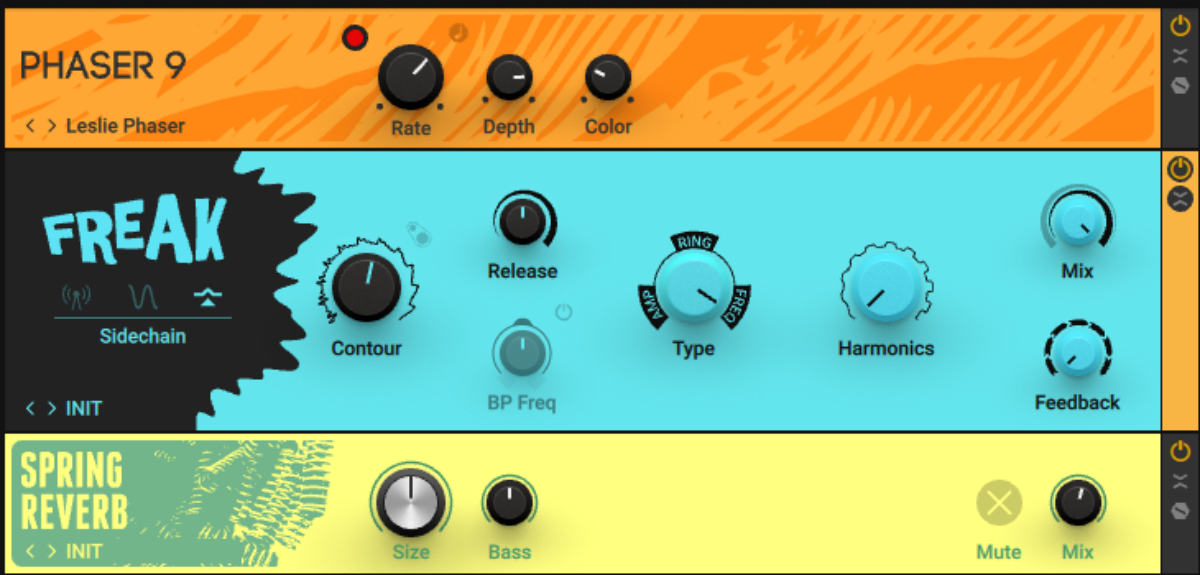
Guitar Rig’s “Freak” module is built for this!
Set the modulation rate to around 0.1 Hz and the shift amount to 50-100 Hz. This way, you add slight but noticeable movement that changes the sound’s tonal character without pushing it too far off course. It’s especially effective on drones or evolving pads, giving them that organic, constantly changing quality.
Pro tip: For added depth, automate the “Type” and “Contour” to gradually increase or decrease throughout the track, especially during sparse sections in the arrangement. A brief moment of heavy-handed frequency shifting during a calm breakdown can bring a pad or drone to the forefront of the mix as everything else disappears.
5. Introducing nonlinear dynamics with amp simulation
Amp simulation might not be your first thought for ambient production, especially when it comes to processing and affecting reverb and delays, but it’s a game changer for adding subtle grit, warmth, and sometimes even the dynamics of the effects. Guitar Rig 7’s amp models bring a bit of non-linearity, which gives the sound a more organic character – perfect for taking the digital edge off.
You want a touch of warmth here – think low-gain saturation rather than full-on distortion. Tape emulation or even a slight touch of overdrive can turn a sterile synth into something full of life and character.
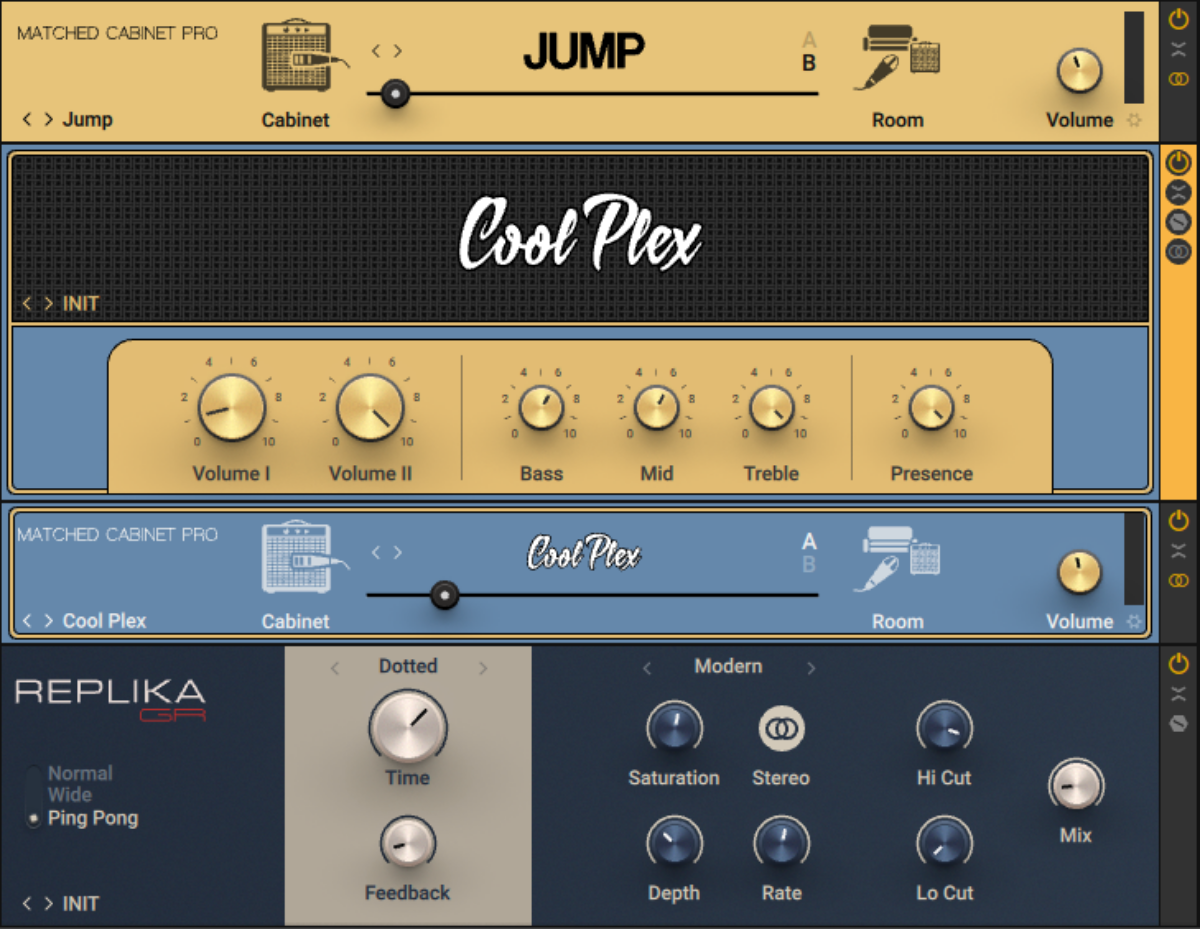
In Guitar Rig, the “Cool Plex” amp works wonders. Keep the gain low, enough to add warmth without noticeable distortion. Adjust the “Presence” control to add a hint of brightness – just enough to bring out a subtle sparkle. It’s a great way to enhance synth pads or ambient guitar layers without overpowering the rest of your mix.
Pro tip: Don’t dial in this effect with the channel in Solo mode, as the effect in isolation may fool you into thinking you can’t push the sound as far as you think. Listen to the whole mix in context, drive the gain until it’s noticeable, then back off a couple dB and call it a day.
Learn more about Native Instrument guitar plugins
6. Glitching with the step sequencer
Adding a bit of glitch can make an ambient track far more nuanced and rhythmic. This isn’t about adding chaos for chaos’s sake – it’s about small, rhythmic changes that keep the listener guessing while adding a pulse to the backdrop of the track. Glitching with a sequencer can give a rhythmic texture that feels human and imperfect while still being predictable enough to create the pulse you’re after.
Think of it like controlled randomness. You can add an organic feel to an otherwise too-smooth sound by automating small changes. It’s about breaking up repetition just enough to make things interesting.
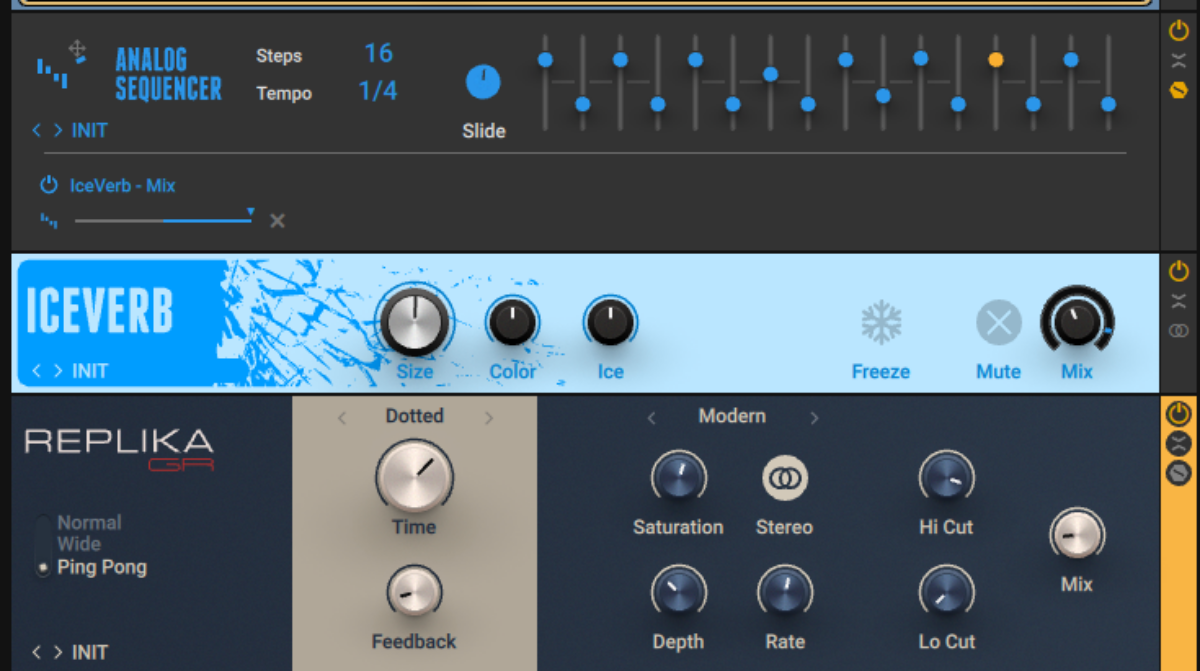
Guitar Rig’s “Analog Sequencer” is great for this. Use it to modulate your reverb’s “Dry/Wet” mix. Keep the changes small – jumping between 30% and 60% at different steps. This creates a rhythmic quality in the reverb that adds a unique dynamic element without isolating the listener from the ambient mood.
Pro tip: Place a delay before or after the sequenced reverb to help smooth out the jumps in the dry/wet parameters and make the rhythmic automation more fluid and ambient.
7. Pitch shifting with subtle harmonies
Pitch shifting can be a simple way to add richness to an ambient atmosphere, but it’s all about using it tastefully. Much like the frequency shifters above, the second a listener “hears” this effect being used, it’s all they can hear. Rather than making a shifted layer obvious, subtle harmonies can add weight and depth without standing out as a separate entity.
Shifting by an octave or a fifth and keeping it low in the mix adds a harmonic layer that complements your main sound. It’s less about “hearing” the shift and more about “feeling” the extra depth it brings.
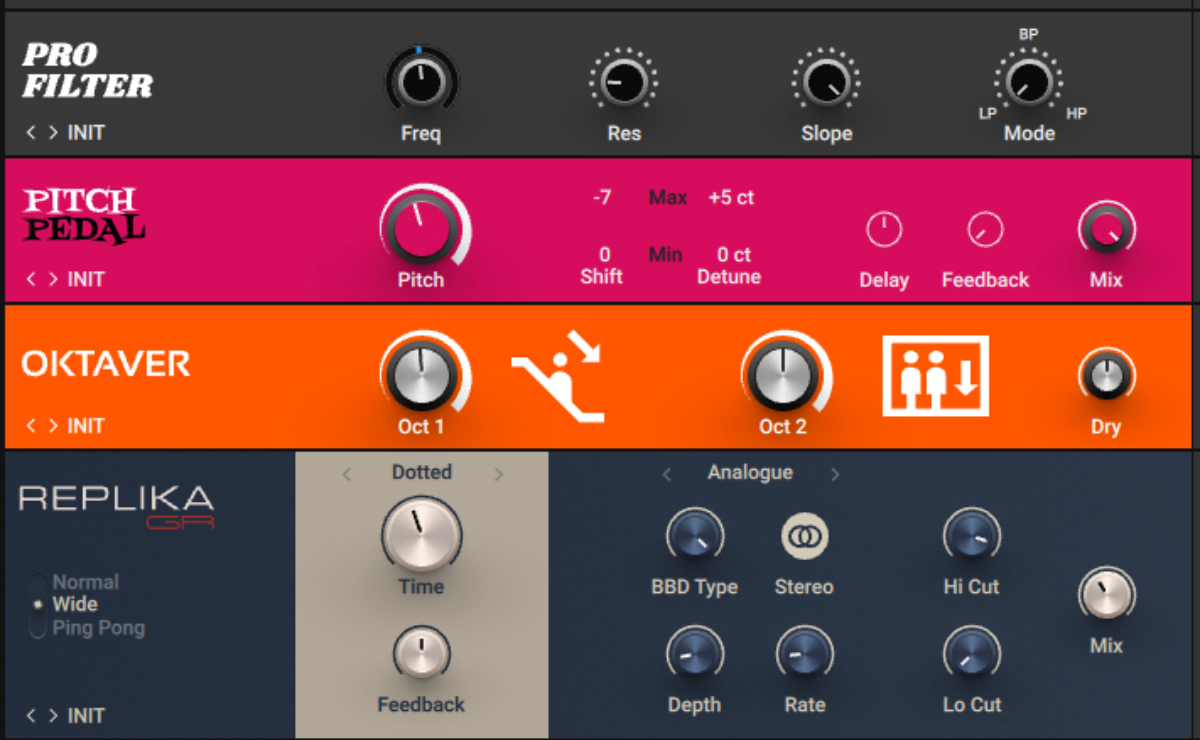
In Guitar Rig, grab the “Pitch Pedal” module. Set the mix to around 20%, and add a +7 semitone shift. This will create a harmonic enrichment that stays in the background, enhancing without overtaking. Use the “Tone” control to balance it against the original.
Pro tip: Try using the “Pitch Pedal” with a reverb module. This way, the pitch-shifted layer blends into the reverb tail, adding a subtle yet impactful harmonic shimmer to your ambient soundscape.
8. Using reverb pre-delays for rhythmic atmosphere
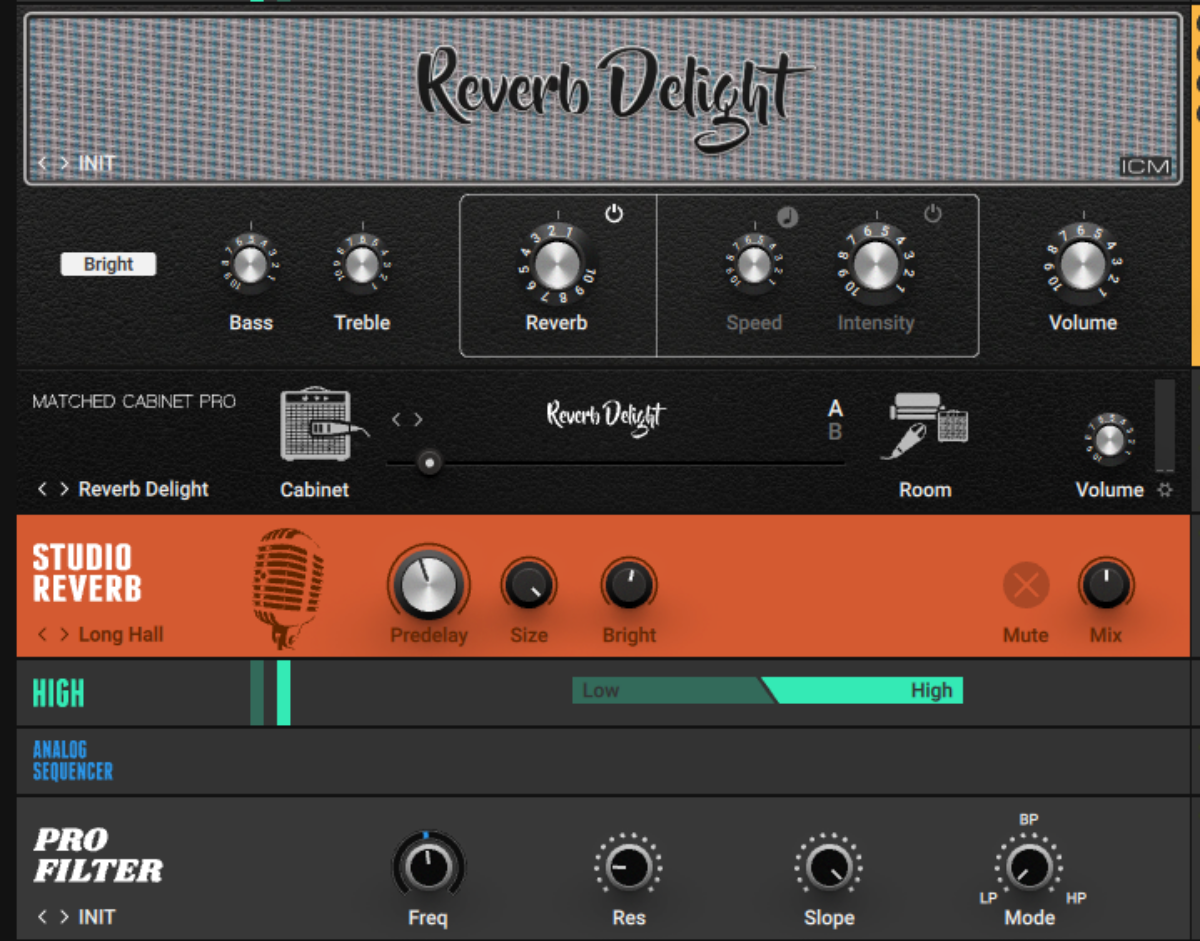
Pre-delays are a secret weapon for creating rhythm without actually adding percussion. By controlling when the reverb tail kicks in, you can add a rhythmic element that keeps things moving without a typical beat.
It’s a fine line between too short (where it doesn’t make an impact) and too long (where it sounds disconnected). Finding the right pre-delay in ambient music means allowing the initial sound to shine through before the wash takes over, keeping things clear and spacious.
Set Guitar Rig’s pre-delay on “Studio Reverb” to about 80 ms, allowing your sounds to breathe. Keep the mix around 40%, and adjust decay time based on how expansive you want the effect to feel. This way, the reverb becomes a rhythm, adding space without cluttering the mix.
Here’s another cool guitar recording, but it still lacks the groove and movement we need.
But a heavy-handed use of pre-delay on the reverb adds a new fluid swing to the guitar performance.
Pro tip: Automate the “Pre-Delay” time to change throughout the track subtly. This keeps the rhythmic quality of the reverb dynamic, adding an evolving sense of movement that brings added life to the atmosphere without needing a percussion line or drum group.
9. Dynamic movement with filter modulation
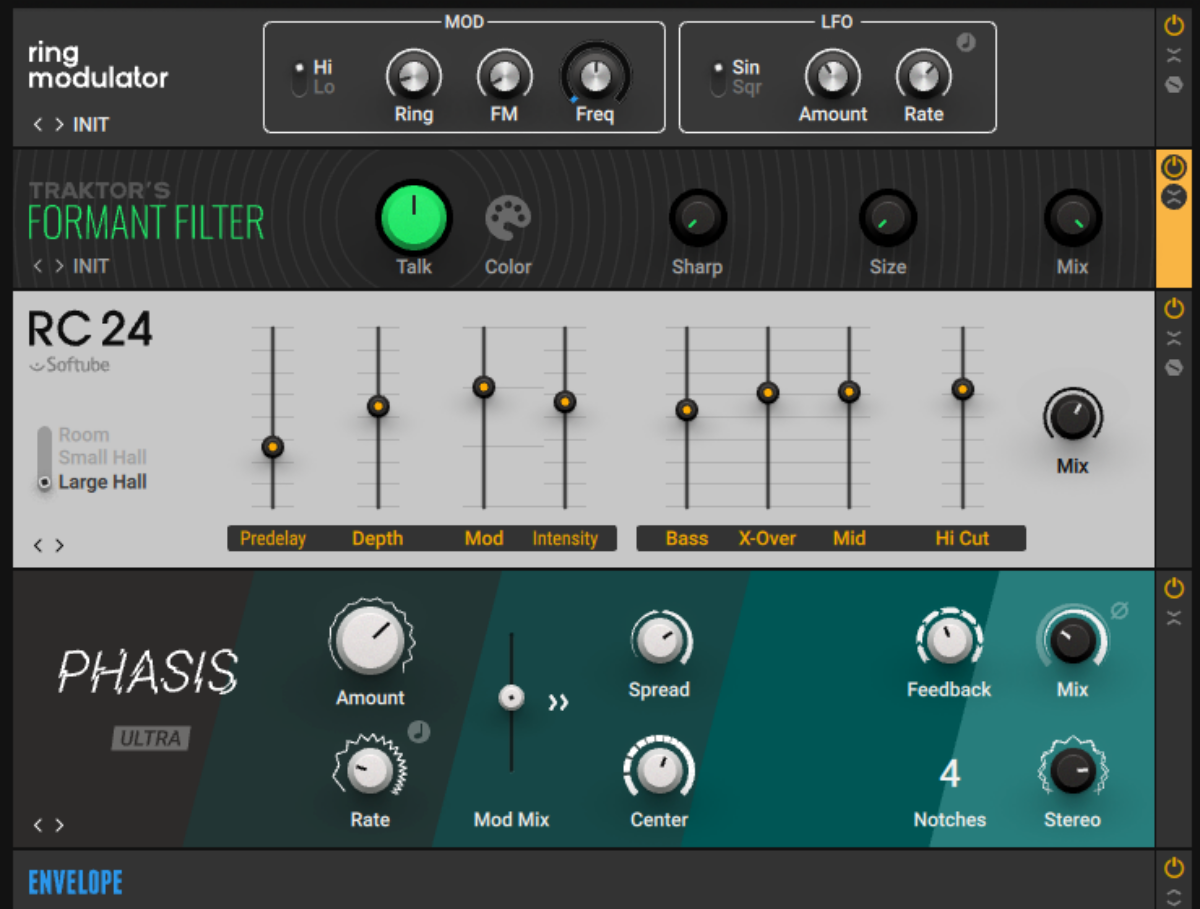
Filter modulation is a powerful technique for keeping ambient sounds moving and reshaping. Instead of using a static filter, try using modulation to keep the sound shifting, adding depth without detracting from the overall atmosphere.
This technique is handy for creating a sense of motion in leads or string layers. It’s about giving subtle changes that add interest without overpowering the main sound and slowing the modulation to make the changes nearly invisible – perfect for background layers.
In Guitar Rig, the “Formant Filter” works well for this. Set the modulation source to an LFO with a slow rate (around 0.2 Hz) and connect it to the “Vowel” control on the filter. This creates subtle but interesting vowel-like changes that help the sound change gently over time.
Pro tip: Let the atmosphere of a song contribute to the emotional payoff of the track’s climax as much as the music itself. Slowly open up the filter on your main reverb as the track builds in emotional energy, only letting its cutoff be completely open at the grand finale of the song.
Start making immersive ambient atmospheres
These nine techniques are all about going deeper with Guitar Rig 7 Pro to build rich, pro-level ambient atmospheres. Whether it’s subtle modulation, dynamic movement, or thoughtful harmonic additions, these tools can help you create soundscapes that keep listeners hooked.
By treating reverb and ambience as instrumental components of the track in their own right, instead of just slapping on a reverb preset and calling it a day, you start to open up more creative ways to add incredibly unique and standout atmospheres and textures to the background and foreground of your mixes and productions.
Guitar Rig 7 is the Swiss Army Knife of tools for creating these deep and detailed ambiences that can instantly turn a track’s texture and ambience from passable to simply next-level.